How to Drill Through Concrete: Tools, Steps, and Fixes for Clean Holes (2026 Guide)
You need three things to drill through concrete: a hammer drill or rotary hammer, a carbide-tipped masonry bit, and the patience to start slow before pushing through at full speed. Concrete fights back against regular drills because it’s dense and usually reinforced with steel, so the tool matters just as much as the technique. This guide covers the exact steps and fixes for drilling clean holes, whether you’re setting a single anchor or running conduit through a full wall.
Get the setup wrong and the bit dulls, snaps, or wanders off the mark in seconds. Get it right and a 1/2-inch hole in a 4-inch slab takes under two minutes.
What Tools You Need
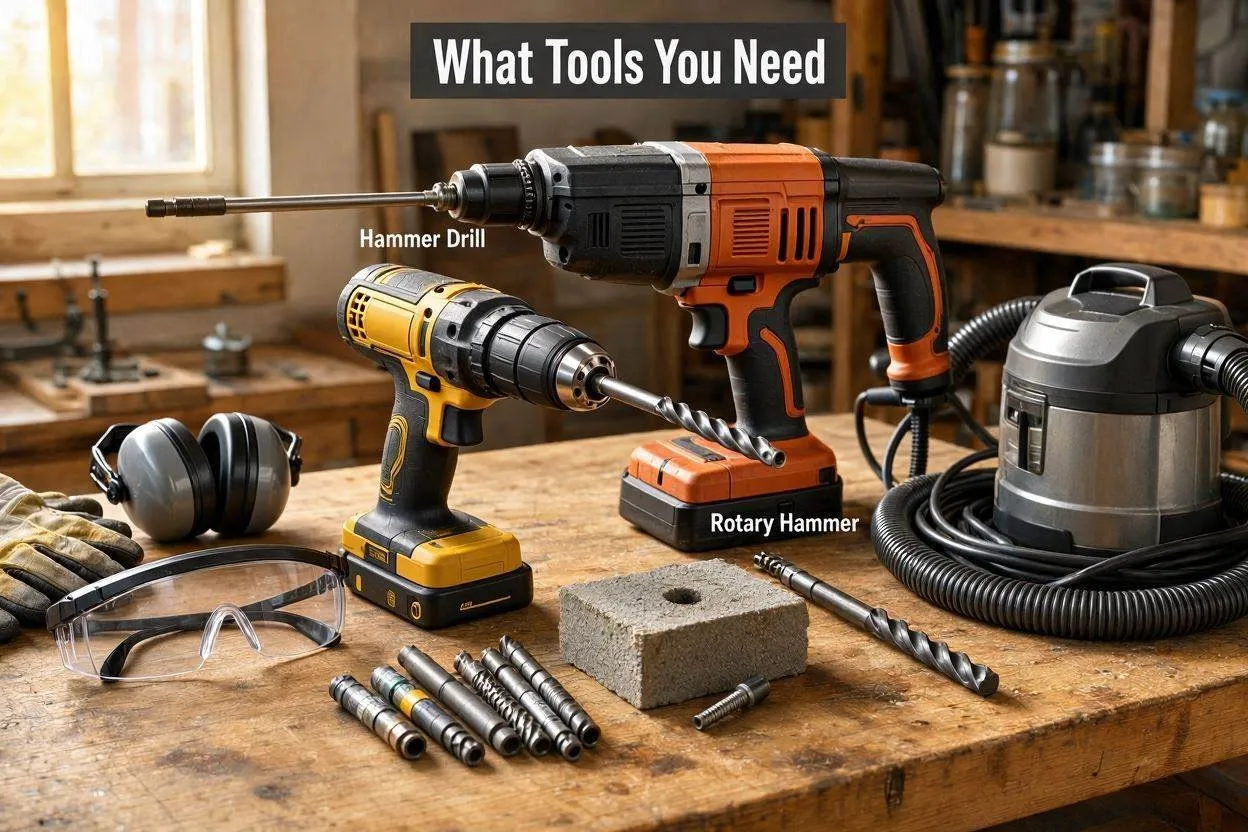
A hammer drill or rotary hammer, a carbide-tipped masonry bit sized to your fastener, safety glasses, hearing protection, and a shop vacuum. That’s the core kit. Standard drills just don’t have the percussive punch to break up cured concrete, and using one anyway burns through bits without getting you anywhere.
Hammer Drill vs. Rotary Hammer
A hammer drill is fine for holes up to 1/2 inch. A rotary hammer is the better call for anything bigger, thicker slabs, or repeated drilling that would otherwise overheat a smaller tool. The hammer drill adds a light hammering action on top of standard rotary motion, which works for mounting a shelf bracket or driving a few Tapcon screws. A rotary hammer uses a piston-driven mechanism instead, so it delivers a lot more impact energy per stroke. Electricians drilling dozens of 3/4-inch holes for conduit runs almost always reach for a rotary hammer with an SDS chuck, since a standard hammer drill would overheat and chew through bits long before the job’s done.
Choosing the Right Masonry Bit
Carbide-tipped masonry bits work by chipping and grinding rather than slicing, so both the tip material and the shank type affect how fast and clean your hole comes out. Twist-style bits with a round shank fit a standard chuck and handle holes under 1/2 inch. SDS-plus and SDS-max bits lock into a rotary hammer and transfer far more impact force, which you’ll want for anything larger than 1/2 inch or slabs thicker than 6 inches. Always match the bit to what’s printed on the anchor packaging: a 3/16-inch concrete screw usually calls for a 5/32-inch bit, while a 1/4-inch screw needs a 3/16-inch bit.
How to Drill Through Concrete, Step by Step
Mark the spot, start a shallow pilot hole at low speed, then drill at full speed while clearing dust every few seconds until you hit the target depth. Skip any one of these steps and you’ll end up with a hole that’s crooked, oversized, or too shallow.
Step 1: Mark and Measure
Use a tape measure and pencil to mark the exact spot, then hold the bracket or fixture up to the wall and double-check the marks line up before you drill anything. Wrap tape around the bit at the depth you need, or set the drill’s depth stop if it has one. This one habit saves you from drilling past where you meant to stop.
Step 2: Start a Pilot Hole
Position the bit on the mark and hold the drill perpendicular to the surface. If the bit tends to skate, tap the spot first with a center punch or masonry nail so the tip has somewhere to bite. Run the drill at its lowest speed for the first 1/8 to 1/4 inch. Rushing this part is exactly why bits wander off-center.
Step 3: Drill at Low Speed First
Keep light, steady pressure on the drill once the pilot hole is set and let the hammering action do the work rather than forcing it. Push too hard and you’ll overheat the carbide tip and shorten its life. Back the bit out every 10 to 15 seconds to clear loose material out of the flutes.
Step 4: Increase Speed and Clear the Dust
Once the pilot hole holds the bit steady on its own, switch to full speed, and keep backing the bit out periodically to blow or vacuum out the dust. Trapped dust acts like a cushion between the bit and the concrete, so it slows you down and generates extra heat. A shop vacuum with a narrow nozzle clears a hole a lot faster than blowing on it.
Step 5: Finish and Check the Depth
Stop once your tape mark or depth stop hits the surface, then pull the bit straight out without twisting it sideways. Vacuum the hole one last time before inserting the anchor, since leftover dust cuts down on holding strength more than people expect. Measure the finished hole against the anchor length to confirm it’ll seat fully.
How to Drill Through a Concrete Wall Without Blowout
Drill a pilot hole from one side, find its exit point on the opposite face, then finish from both directions using matched measurements. Blowout happens when the bit punches through the far side and chips away a chunk of concrete bigger than the hole itself, which wrecks the finished look on the exit side.
Electricians running conduit through 8-inch or 12-inch block walls use a two-sided method: drill a small pilot hole (often 1/4 inch) most of the way through, stopping 2 to 3 inches short of the far face. Walk around to the other side, find where the pilot bit tip is visible or just barely poked through, and mark that spot. Finish the full-diameter hole from both sides, meeting in the middle. It leaves a clean edge on both faces instead of a jagged crater on the exit side.
For load-bearing walls, or holes larger than 3 inches, talk to a structural engineer before you drill. Removing too much material in one spot can weaken the wall.
What to Do When You Hit Rebar
Stop immediately, shift the hole 1 to 2 inches to one side, and start a fresh pilot hole. Don’t try to force a masonry bit through steel reinforcement; it won’t win, and you’ll ruin the bit trying.
A sudden drop in drilling speed, paired with a change in sound or vibration, usually means you’ve hit rebar. If your fastener location is flexible, just shift the hole slightly and move on. If the hole has to go in a specific spot, like a pre-drilled bracket, switch to a carbide-tipped rebar-cutting bit or a diamond core bit rated for reinforced concrete. Foundation walls and structural slabs often have rebar every 12 to 16 inches, so budget extra time and keep spare bits on hand for any foundation work.
Why Your Hammer Drill Isn’t Cutting Through Concrete
Usually it’s one of three things: hammer mode isn’t engaged, the bit is dull or wrong for the job, or the tool just doesn’t have enough impact energy for the slab. Each has its own fix.
Hammer mode switched off. Check the mode selector and confirm it’s set to hammer drilling, not standard rotary. Test it on a scrap piece of concrete or brick first.
Dull or damaged bit. Look at the carbide tip for chips, rounding, or wear, and swap it out if the edges look worn down. A dull bit grinds instead of cutting, which wastes time and builds up heat.
Wrong bit type. Make sure it’s actually a carbide-tipped masonry bit, not a standard twist bit meant for wood or metal. Standard bits soften and fail within seconds against cured concrete.
Not enough tool power. Move up to a rotary hammer if the concrete is unusually dense, the hole’s over 1/2 inch, or you’re drilling more than a dozen holes. A hammer drill pushed past its limits will burn out its motor faster than a rotary hammer built for the job.
Dense aggregate or buried rock. If progress stalls dead in one spot, try shifting the hole slightly. You may have hit a stone in the concrete mix rather than rebar.
Safety Precautions
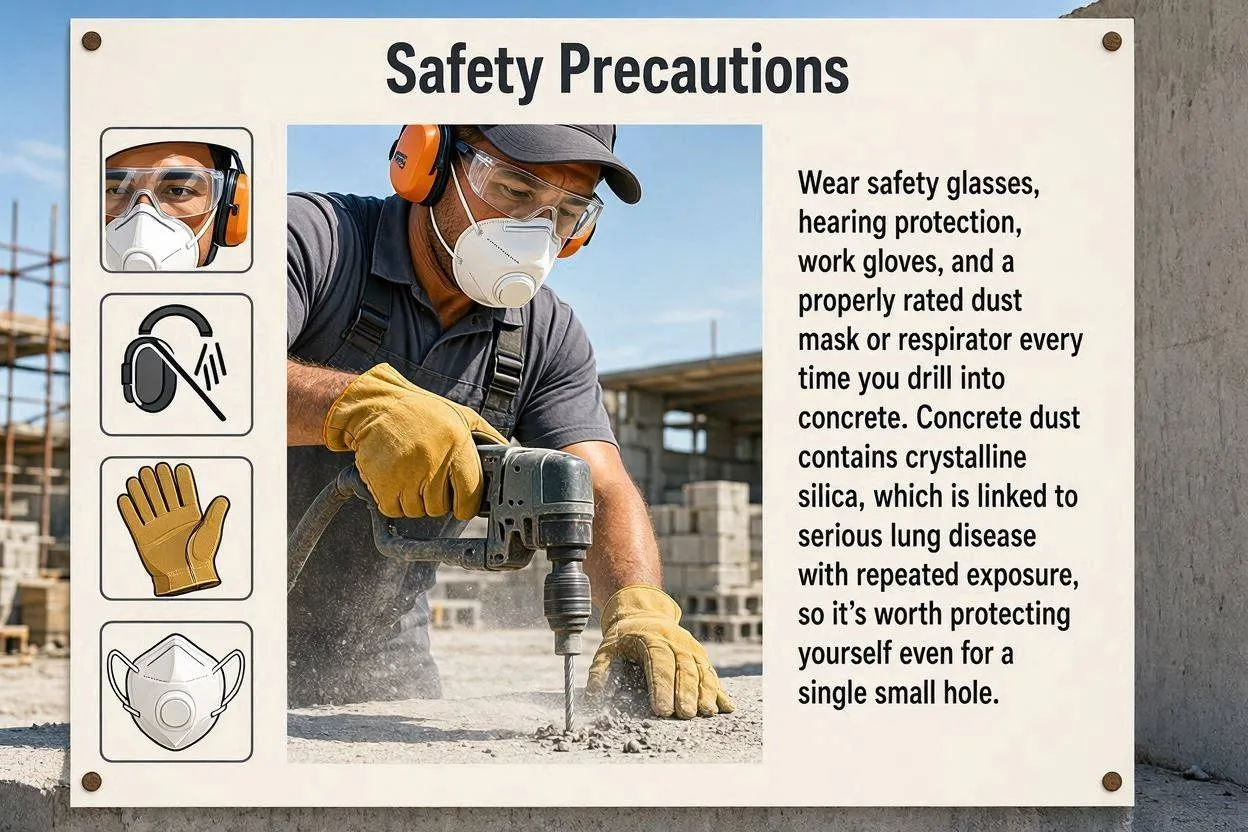
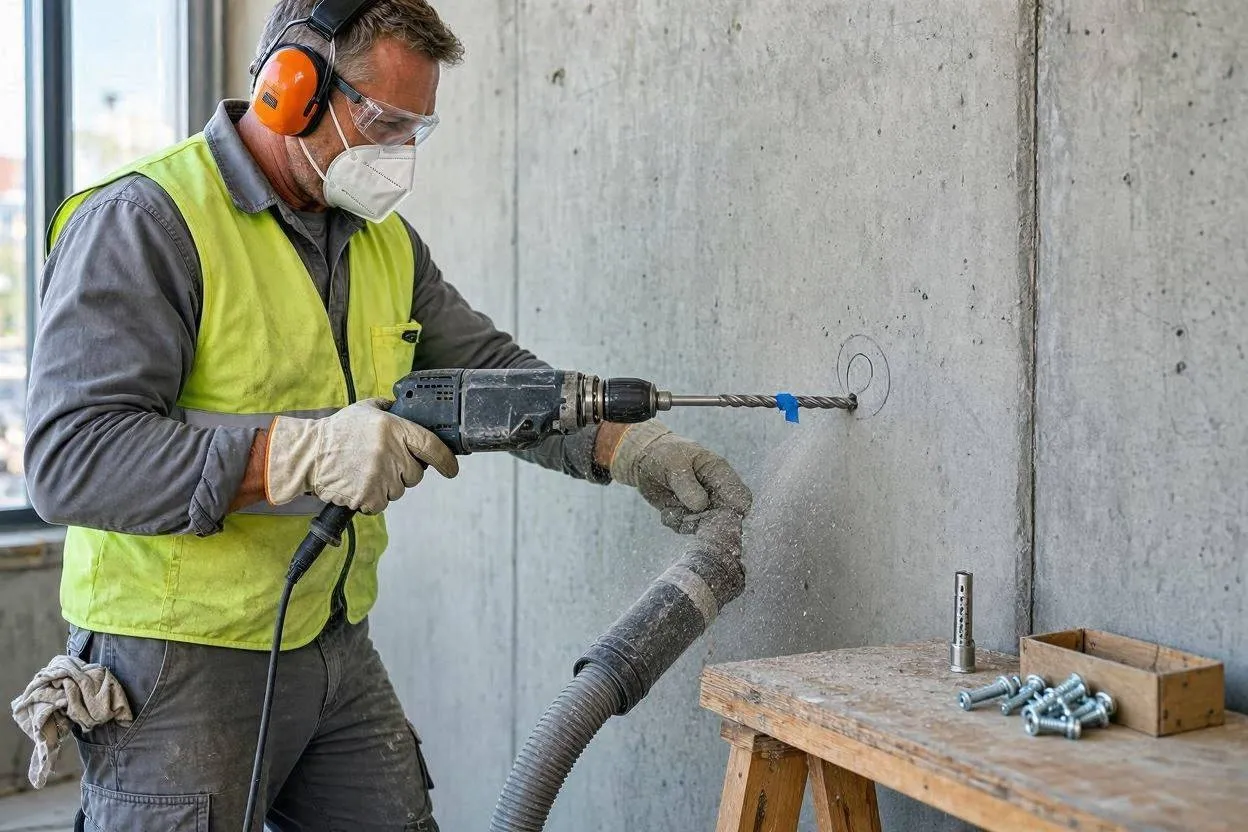
Wear safety glasses, hearing protection, work gloves, and a properly rated dust mask or respirator every time you drill into concrete. Concrete dust contains crystalline silica, which is linked to serious lung disease with repeated exposure, so it’s worth protecting yourself even for a single small hole.
Clear the area of furniture and loose items first, and check the wall or slab for hidden wiring, pipes, or ductwork using a stud finder with metal and voltage detection. Brace the drill firmly with both hands, since a bit that binds partway through can make the drill spin violently and hurt you. A vacuum attachment or dust shroud on the drill cuts down on airborne particles a lot compared to drilling without one, especially overhead or indoors.
Drilling for Anchors and Fasteners
Match the bit diameter exactly to what the anchor manufacturer specifies. Too big and the fastener won’t hold; too small and it won’t seat fully. Concrete anchors rely on friction or mechanical expansion against the sides of the hole, so precision here is what determines how much weight the fastener can actually hold.
For concrete screws like Tapcons, drill the hole 1/4 inch deeper than the screw’s embedment length to leave room for settled dust. For expansion and sleeve anchors, drill to the exact diameter and depth on the packaging, then vacuum thoroughly before inserting the anchor since leftover dust cuts holding power by a lot. Tap anchors flush with a hammer if they don’t seat by hand, then drive the screw or bolt snug against whatever you’re mounting.
For heavier fixtures like railings, security bars, or structural brackets, use epoxy anchors instead of mechanical ones. Inject the two-part epoxy into the hole, insert the threaded rod or bolt, and let it cure fully before putting any load on it.
Mistakes to Avoid
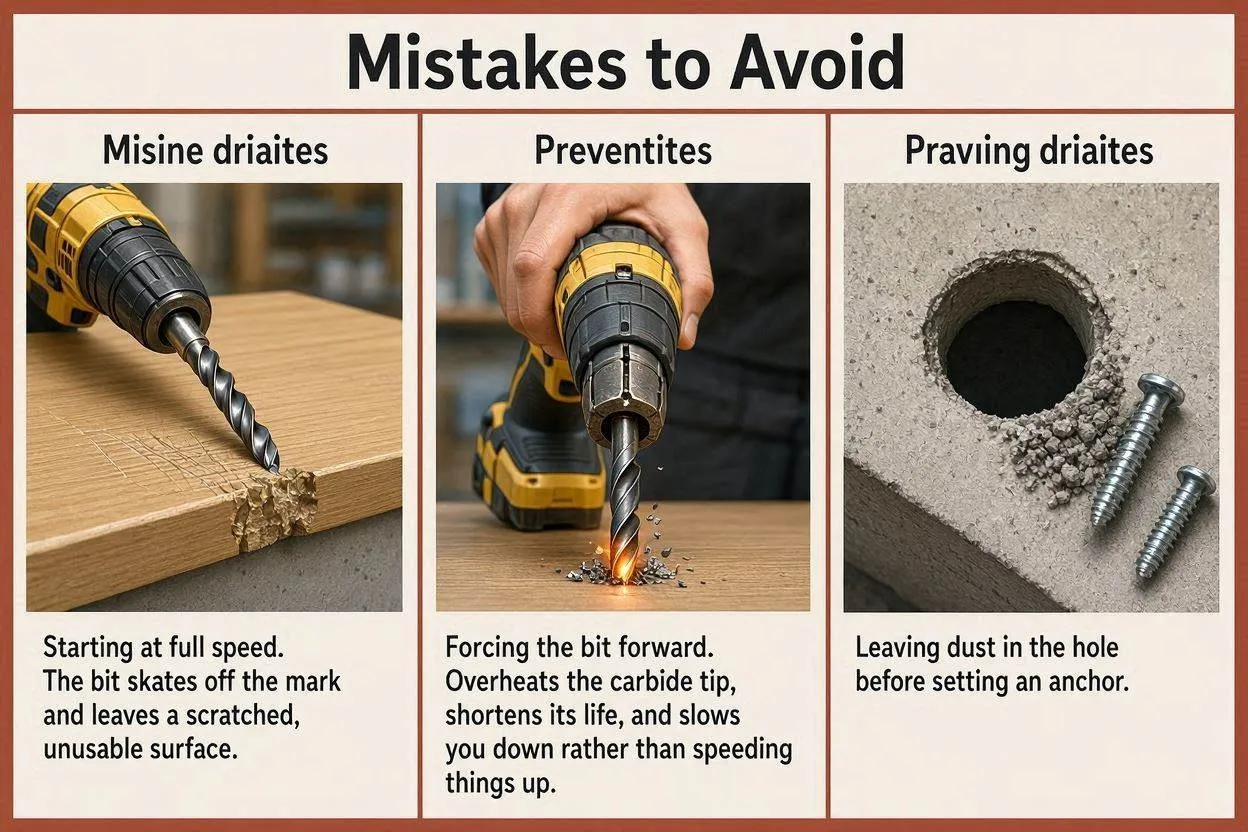
The most common ones: skipping the pilot hole, forcing the drill instead of letting it work, and leaving dust in the hole before setting an anchor. You’ll see these same mistakes come up again and again across DIY forums and job sites alike.
- Starting at full speed. The bit skates off the mark and leaves a scratched, unusable surface.
- Forcing the bit forward. Overheats the carbide tip, shortens its life, and slows you down rather than speeding things up.
- Ignoring dust buildup. Trapped debris cushions the bit and kills cutting efficiency.
- Using the wrong bit for the tool. Fitting an SDS-shank bit into a standard chuck (or the reverse) damages both the bit and the chuck.
- Not checking for utilities first. Hitting a water pipe or electrical wire costs a lot more to fix than the original project.
- Skipping the depth check. Too shallow and the anchor won’t seat. Too deep and you’ve wasted time and weakened the surrounding concrete for nothing.
Conclusion
Drilling through concrete comes down to matching the right tool to the job, starting slow, and clearing dust the whole way through. A hammer drill handles small anchor holes fine. A rotary hammer takes over for anything bigger or more frequent. And a carbide bit sized correctly to the fastener determines whether the finished hole actually holds weight or fails under load. Use the pilot-hole method to avoid blowout on wall penetrations, and stop the moment you hit rebar. Do that, and drilling through concrete becomes routine instead of a fight.
FAQs

Related Posts