How to Install a Metal Roof Over Shingles: Step-by-Step Guide
Installing a metal roof over shingles means adding furring strips or a direct-attachment underlayment over the existing shingle layer, then fastening metal panels on top — skipping the tear-off entirely. Contractors use this method, often called a roof-over or recover installation, on homes where the shingles lie flat, the deck underneath is sound, and local code allows a single existing layer to remain.
This guide covers whether your roof qualifies, the tools you’ll need, the seven-step installation sequence, and what it costs compared to a full tear-off.
Can You Install a Metal Roof Over Shingles?
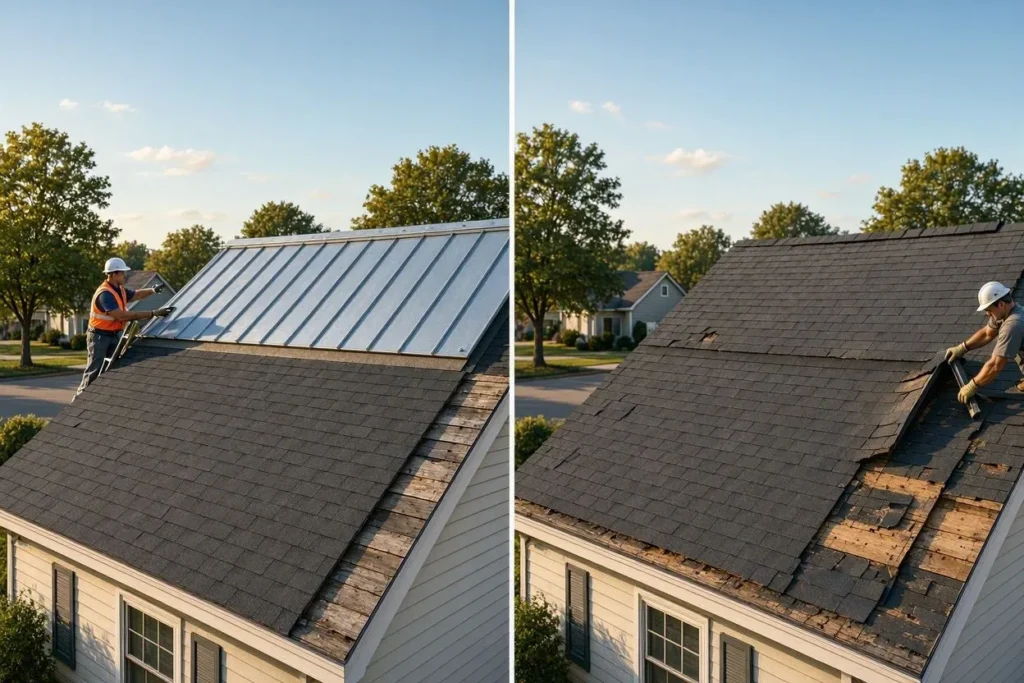
Yes, in most jurisdictions — provided the existing shingle layer is singular, flat, and free of structural damage. Local building codes matter more here than manufacturer preference. Most municipalities that follow the International Residential Code (IRC) cap roof coverings at two layers total, so a house with one layer of asphalt shingles typically qualifies for an overlay, while a house with two layers already in place needs a full tear-off first.
Roof pitch matters too. Manufacturers generally recommend a minimum slope of 3:12 (a rise of 3 inches for every 12 inches of horizontal run) for metal panels to shed water properly over an added layer — check your specific panel system’s spec sheet, since minimums vary by product. In hail-prone regions, the softer shingle surface beneath the panels can flex more under impact than solid decking, which some contractors say leads to faster wear on the underside of the metal.
Building Codes to Check
Codes that allow a metal roof over shingles generally require a permit, a single existing shingle layer, and a sound roof deck verified by inspection. The IRC serves as the baseline for most US municipalities, but state and county amendments frequently tighten those rules — Florida, for instance, requires product approval for the local wind zone, and coastal high-velocity hurricane zones may require a self-supporting system or a design professional’s sign-off.
Before ordering materials, call your local building department. Requirements vary meaningfully by region, and a five-minute phone call prevents a failed inspection later.
Does Your Roof Qualify for an Overlay?
Check these four conditions before committing to the project:
- Shingle condition — no curling edges, missing granules, or soft spots across the surface
- Layer count — confirm from the attic or a pulled sample that only one shingle layer exists
- Deck integrity — inspect from inside the attic for water stains, mold, or spongy sheathing
- Roof pitch — measure to confirm it meets your panel manufacturer’s minimum slope
A single-story home with one shingle layer and a dry attic is a strong overlay candidate. A home with two shingle layers or visible sagging near a valley is not — that roof needs a tear-off regardless of which metal system you prefer.
Tools and Materials You’ll Need
- Metal roofing panels (standing seam, corrugated, or steel shingle, pre-cut to roof length)
- Synthetic or self-adhered underlayment
- Wood furring strips, 1×4 pressure-treated lumber
- Hidden clips and starter cleats (for standing seam systems)
- Drip edge, ridge caps, and trim pieces
- Stainless steel or coated fasteners (never plain galvanized screws — they corrode within a few years against a metal roof)
- Metal seamer, manual or electric, for standing seam panels
- Fall protection equipment and a secured extension ladder
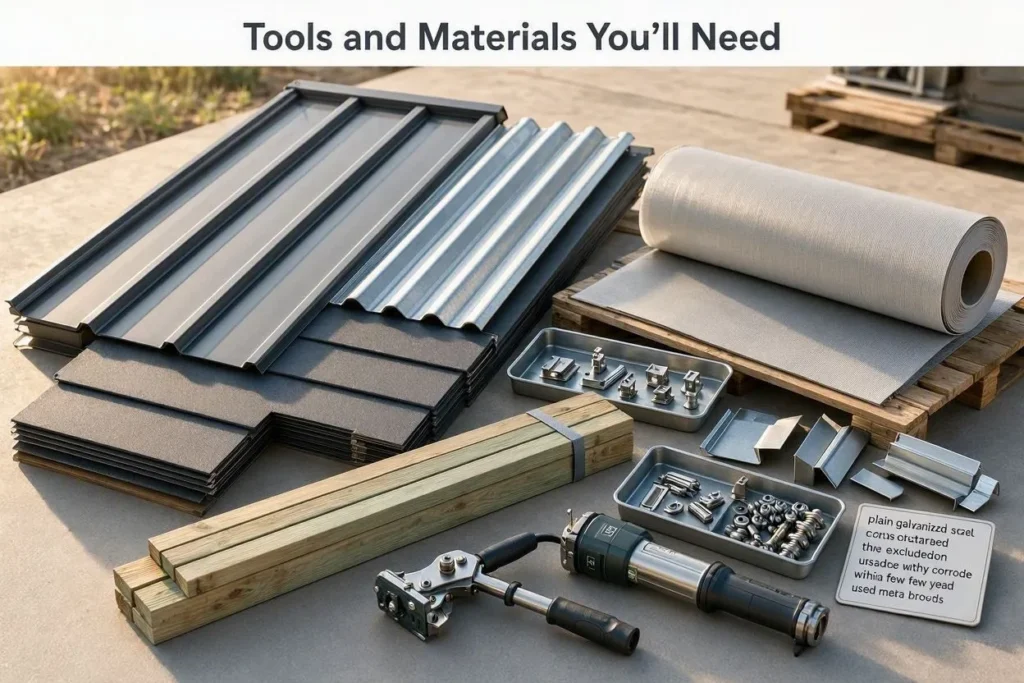
Stainless steel or ceramic-coated fasteners cost more upfront but are built to last as long as the panels themselves.
How to Install a Metal Roof Over Shingles: 7 Steps
Each stage builds directly on the one before it — skipping the furring strip step, for instance, removes the ventilation gap the entire system depends on. Trapped moisture between the shingle and metal layers is the main long-term risk with any overlay, which is why steps 2 and 3 exist.
Step 1: Inspect and Prepare the Roof Deck
Clear all debris from the shingle surface — leaves, branches, loose granules. Flatten any curled shingle edges with a heavy board, or cut out and patch damaged sections individually. Plan on roughly half a day for this step before any new material goes down.
Step 2: Install Underlayment
Roll synthetic underlayment across the entire roof surface, overlapping each course by 6 to 8 inches. This does two things: blocks moisture from reaching the shingles below, and keeps shingle granules from grinding against the back of the metal panels as temperatures shift. Self-adhered ice-and-water membrane works better than standard felt in the first 6 feet up from the eaves and in any roof valleys.
Step 3: Add Furring Strips (Battens)
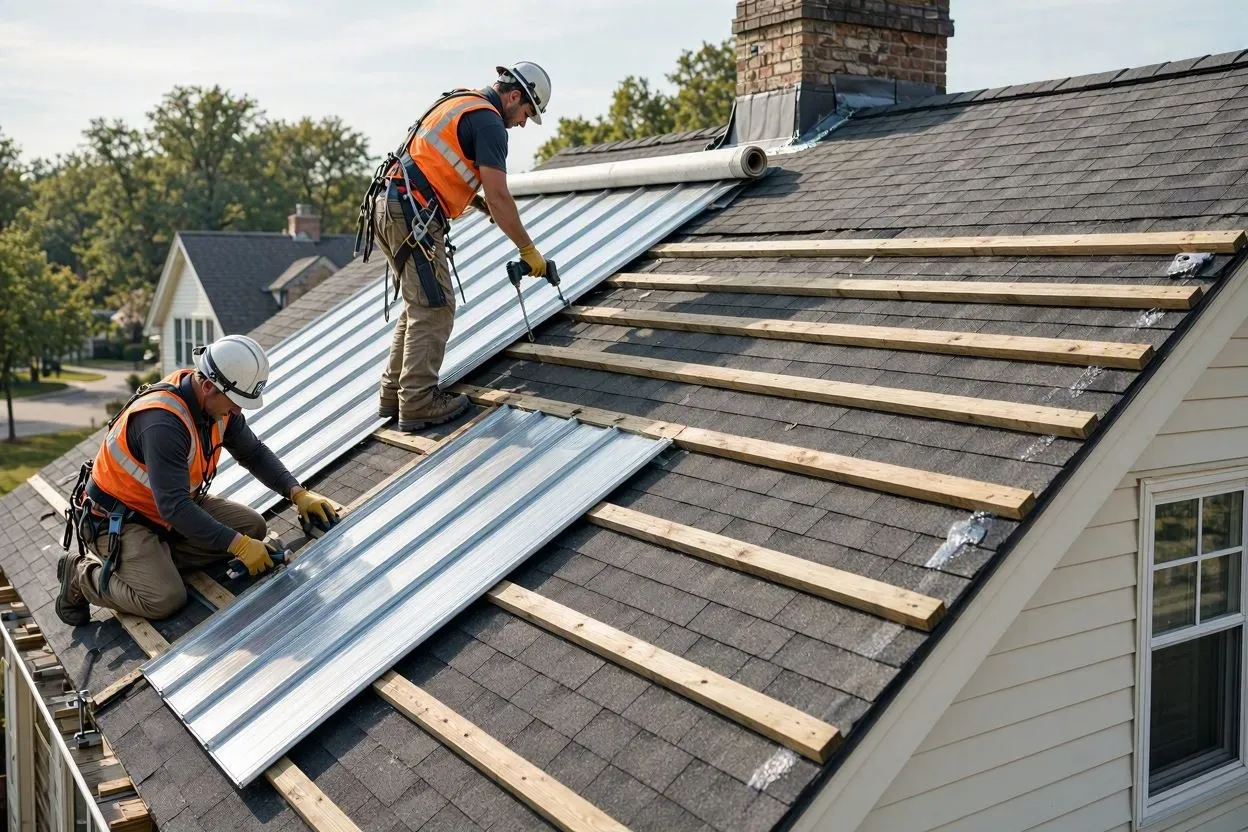
Fasten 1×4 pressure-treated furring strips across the roof, running from eave to ridge, spaced 24 inches apart on center. Screws need to penetrate the wood deck below by at least half an inch — not just the shingles — to hold securely under wind load. This step creates the air gap that separates the metal panels from the shingle surface, preventing both abrasion and trapped moisture.
If pressure-treated lumber touches the metal panels directly, a barrier of #30 felt or synthetic underlayment has to sit between the two. Copper compounds in treated wood react with steel and accelerate corrosion — check your manufacturer’s installation guide for this detail, as it’s easy to miss.
Step 4: Install Drip Edge and Starter Trim
Attach drip edge flashing along the eaves and rakes, directing water away from the fascia and into the gutters. Install starter cleats at the bottom edge next; these hold the first row of panels in place and keep the entire course aligned as installation moves upward.
Step 5: Install the Metal Panels
Begin at one bottom corner and hook the first panel onto the starter cleat. Secure standing seam panels with hidden clips fastened to the furring strips — these let the metal expand and contract with temperature swings without buckling. Exposed-fastener panels, by contrast, get screwed directly through pre-drilled holes into the furring strips below, with rubber-washered screws spaced evenly along each rib.
Work across the roof one panel at a time, overlapping each new panel according to the manufacturer’s spec (usually 1 to 1.5 inches). Once every panel sits in place, run a manual or electric seamer along each standing seam to crimp it watertight.
Step 6: Seal the Ridge Cap and Flashing
Install the ridge cap at the roof’s peak, sealing every seam tightly. Add flashing around chimneys, skylights, and vent pipes, following the panel manufacturer’s exact specifications for each penetration — mismatched flashing is a leading cause of leaks reported by roofing contractors.
Step 7: Final Inspection
Walk the entire roof and check every fastener for tightness, every overlap for proper coverage, and every edge for clean alignment. Clear off metal shavings and leftover screws — loose metal debris left on a roof rusts and stains the panels within a season. A well-run overlay crew typically finishes a mid-size roof in three to four days, compared to five to seven for a full tear-off and replacement.
How Much Does It Cost?
Installing a metal roof over shingles generally runs about 20% to 30% less than a full tear-off and replacement, since you’re skipping tear-off labor and disposal fees entirely. Get quotes from local contractors for current per-square-foot pricing, since material and labor costs vary significantly by region and panel type.
The two biggest sources of savings: tear-off labor disappears, and you avoid landfill disposal fees for the old shingles — a standard tear-off on a single-family home typically produces a couple of tons of shingle waste.
Overlay costs run higher in one area: material. Furring strips, longer fasteners, and additional underlayment add to material costs compared to a straight tear-off-and-replace job, since the deck needs an extra structural layer built on top of it rather than a clean surface to work from directly.
Will It Void the Warranty?
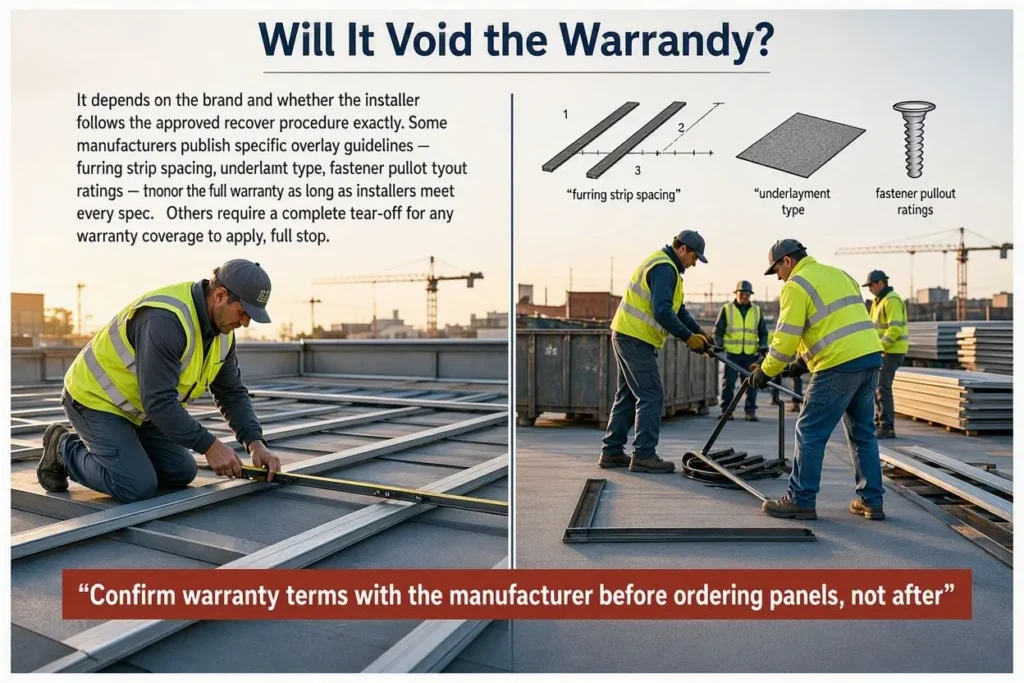
It depends on the brand and whether the installer follows the approved recover procedure exactly. Some manufacturers publish specific overlay guidelines — furring strip spacing, underlayment type, fastener pullout ratings — and honor the full warranty as long as installers meet every spec. Others require a complete tear-off for any warranty coverage to apply, full stop.
Confirm warranty terms with the manufacturer before ordering panels, not after installation starts. It’s a quick call that can save you from losing coverage on a roof that costs thousands of dollars.
Pros and Cons
| Pros | Cons |
| Lower labor and disposal costs than a tear-off | May void certain manufacturer warranties |
| Faster install — days, not a week-plus | Adds furring strip and underlayment material costs |
| Avoids landfill waste from old shingles | Risk of trapped moisture without proper ventilation |
| Existing shingles add a layer of extra insulation | Not permitted where two shingle layers already exist |
| Less weather exposure during construction | Panel lines can telegraph through thin metal over time |
Conclusion
A metal roof installed correctly over a single, sound shingle layer can deliver a long service life at meaningfully lower cost than a full tear-off. The furring strip, the underlayment barrier, and the ventilation gap aren’t optional extras — they’re what separates a roof that holds up for decades from one that traps moisture and fails early.
FAQs

Related Posts