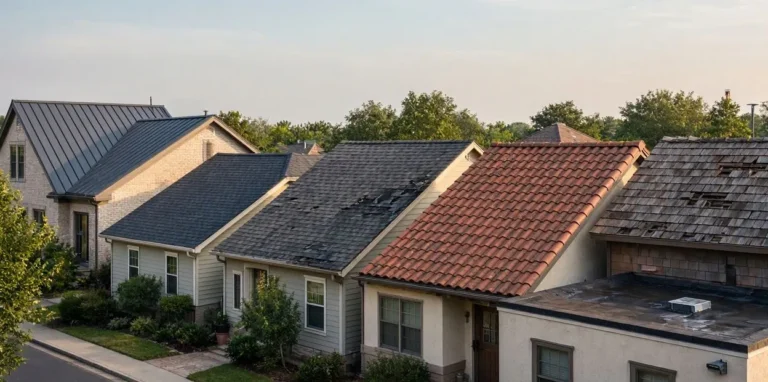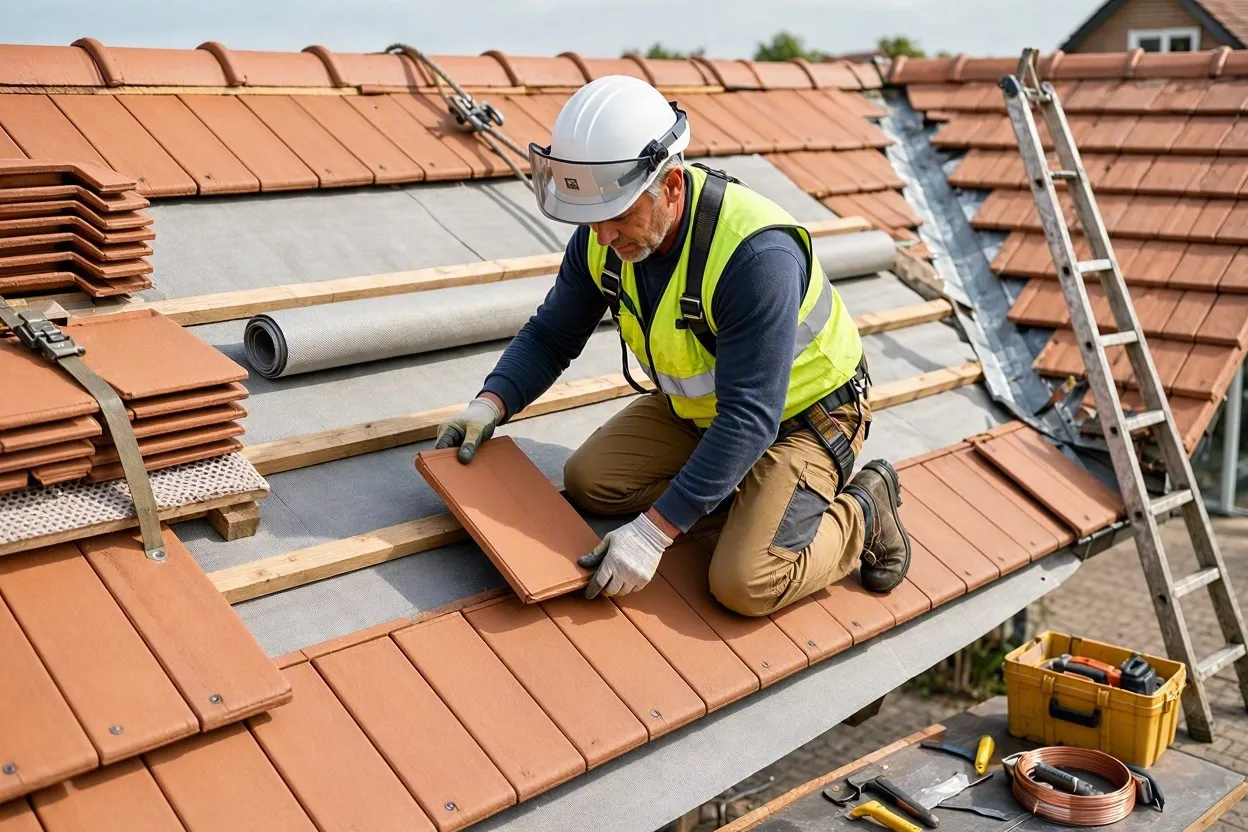
How to Install Roof Tiles: A Complete Step-by-Step Guide
Installing roof tiles involves nine sequential stages: deck inspection, underlayment, drip edge and flashing, battens, layout marking, field tile placement, valley and ridge work, penetration flashing, and final inspection. Each stage follows building codes such as the International Residential Code (IRC) and wind-load standards like ASCE 7-22, published by the American Society of Civil Engineers (ASCE). This guide covers how to install roof tiles the way licensed contractors do it, with the fasteners, laps, and code requirements that separate a leak-free roof from a callback six months later.
What Is Tile Roof Installation?
Tile roof installation is the process of layering underlayment, flashing, and interlocking clay or concrete tiles over a prepared roof deck to create a water-shedding, wind-resistant covering. Contractors choose from four fastening methods, covered in detail below. Which one they pick depends on tile profile, roof pitch, and regional wind code. Contractors on Florida’s Treasure Coast, for example, often combine mechanical fasteners with adhesive foam to meet 150 mph wind-uplift requirements, a hybrid approach that layers two of the four base methods rather than a separate category.
Deck structure matters as much as the tiles themselves, since a finished tile roof weighs 850 to 1,100 pounds (386 to 499 kilograms) per square, where one square equals 100 square feet. Concrete tiles run 8 to 12 pounds per square foot (39 to 59 kilograms per square meter), and clay tiles run 6 to 10 pounds per square foot (29 to 49 kilograms per square meter). That gap determines which trusses and rafters a roof needs before installation can begin.
How Long Does It Take to Install Roof Tiles?
Most tile roof installations take 5 to 7 days on an average 2,000-square-foot home, though rooflines with multiple valleys and dormers can stretch the timeline to 10 or 12 days. Weather delays push that window out further, since crews cannot lay underlayment or set mortar on wet surfaces. On a straightforward gable roof, a three-person crew typically finishes deck prep and underlayment in a single day, then spends three to four more days setting tile.
Steep pitches slow the pace considerably. Crews working a 9:12 slope often set noticeably fewer tiles per day than crews on a 5:12 slope, because safety harnessing and material staging eat into working hours on steeper surfaces.
What Materials and Tools Do You Need to Install Roof Tiles?
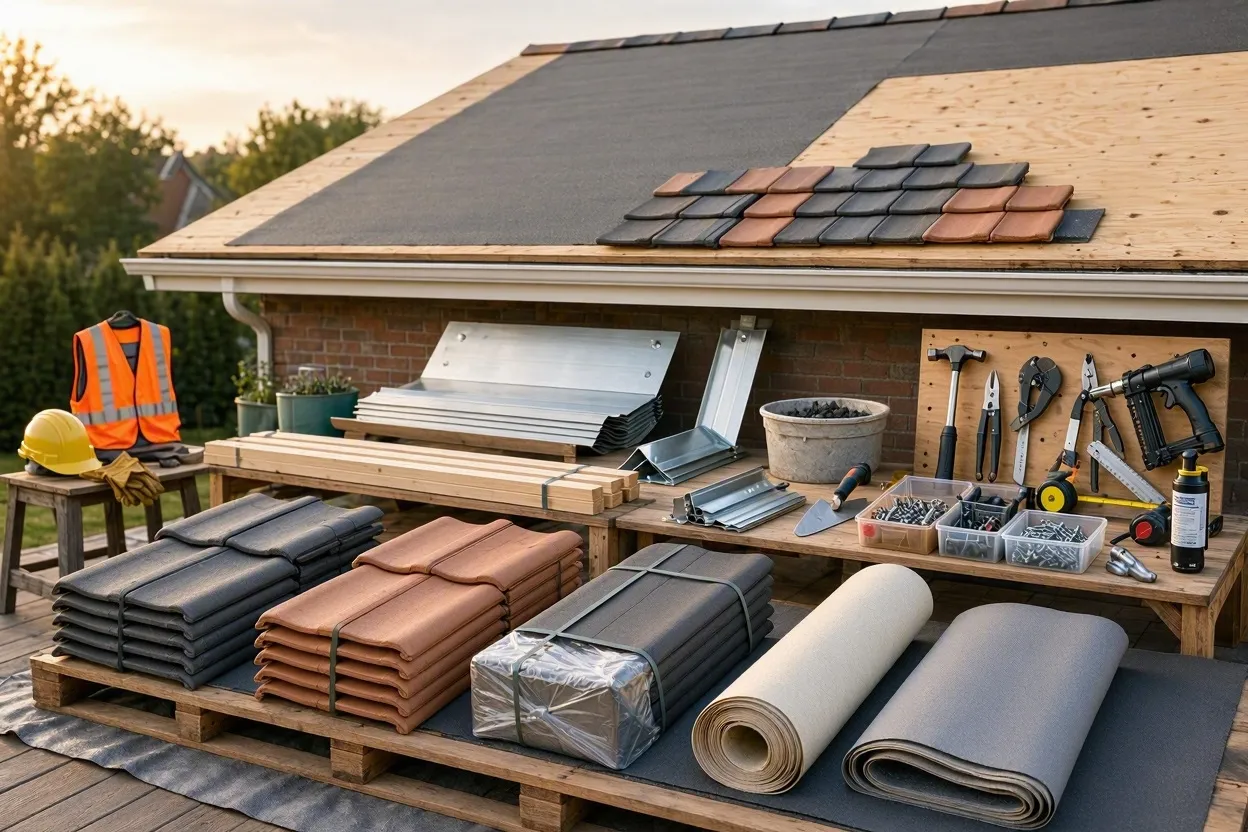
A tile roof installation requires roofing tiles, synthetic or asphalt-saturated underlayment, metal flashing, battens, corrosion-resistant fasteners, mortar or adhesive, and eave closures, along with standard roofing tools such as a nail gun, tile cutter, and chalk line. Specifications shift by fastening system, but the core list stays consistent across most residential jobs.
Materials:
- Concrete, clay, or composite roof tiles
- Underlayment (synthetic sheet, No. 30 or No. 43 asphalt-saturated felt, or self-adhered membrane)
- Metal flashing, minimum 26-gauge, G-90 corrosion-resistant
- Battens, nominal 1 inch by 2 inches, decay-resistant
- Corrosion-resistant nails or screws (10d ring-shank nails or #8 coarse-thread screws, 2.5 inches minimum)
- Mortar, Type M cement, or roof tile adhesive
- Ridge, hip, and eave closures
Tools:
- Roofing nail gun or hammer
- Tile cutter or wet saw
- Chalk line for layout marking
- Tin snips for flashing work
- Roofing harness and fall-protection gear
- Trowel, for mortar-set systems
Homeowners in wildfire-prone regions often add a Class A fire-rated underlayment to this list. Standard felt alone doesn’t meet defensible-space code in parts of California.
What Are the Different Roof Tile Installation Methods?
Roof tile installation uses four primary methods: mechanically fastened with edge-return flashing, mechanically fastened with sealed-deck flashing, mortar-set, and adhesive-set. Method choice depends on roof pitch, local wind code, and the tile manufacturer’s engineering approval. Knowing these four before working through the installation steps matters, since Step 6 below assumes you’ve already picked one.
- Mechanically fastened, edge-return system: tiles attach with nails or screws over battens or direct deck, using preformed flashing with 1-inch metal edge returns; common on pitches of 4:12 and steeper.
- Mechanically fastened, sealed-deck system: tiles attach directly to a fully sealed, waterproofed deck without battens, using standard metal flashings that skip the edge returns.
- Mortar-set: tiles set into a mortar bed on pitches from 2:12 to 7:12, with additional mechanical fasteners required above 6:12 in most jurisdictions.
- Adhesive-set: tiles bond to the deck or underlayment with polyurethane foam or structural adhesive, a method that has gained ground in high-wind regions because it spreads uplift resistance across the full tile surface instead of concentrating it at fastener points.
Some high-wind markets combine two of these, most commonly mechanical fasteners plus adhesive foam, rather than relying on either alone.
How to Install Roof Tiles: Step-by-Step Process
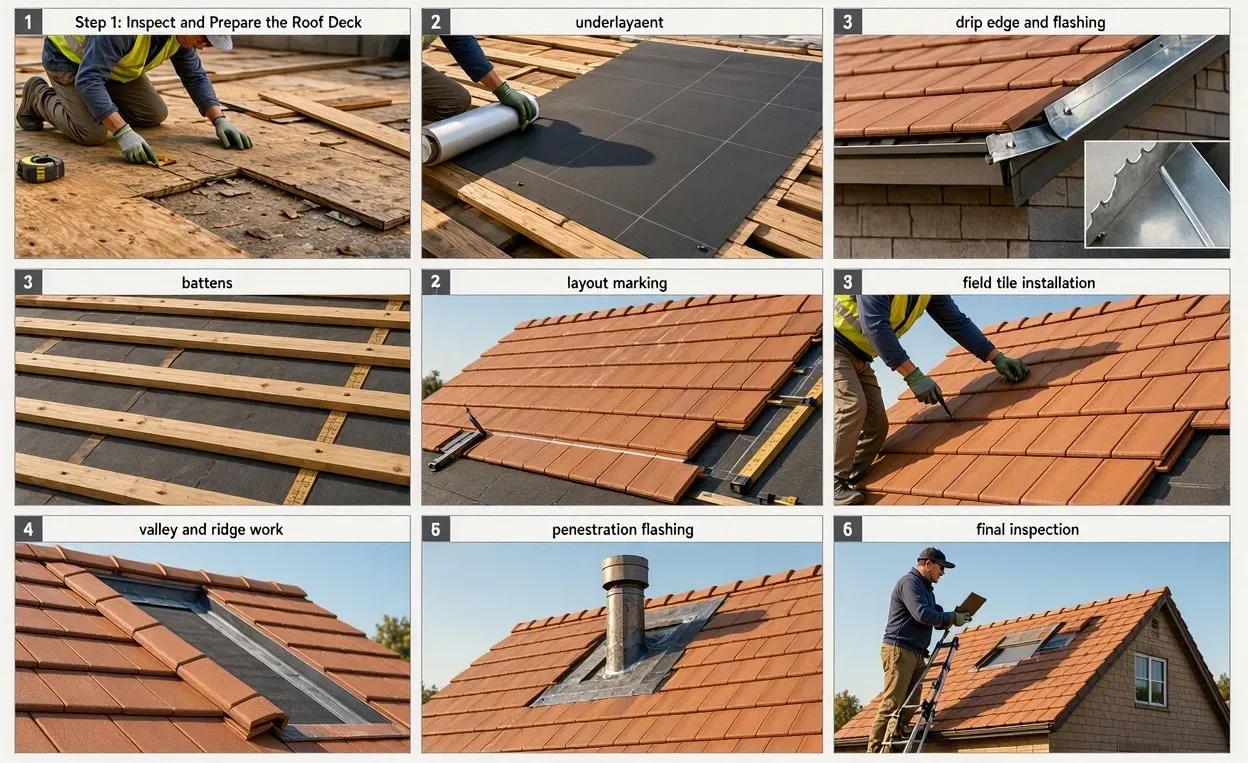
Installing roof tiles follows nine steps: deck inspection, underlayment, drip edge and flashing, battens, layout marking, field tile installation, valley and ridge work, penetration flashing, and final inspection. Skipping or rushing any single step ranks as a leading cause of tile roof leaks within the first five years of a roof’s life.
Step 1: Inspect and Prepare the Roof Deck
The first step is inspecting the roof deck for rot, delamination, or sagging, then repairing or replacing damaged sections before any underlayment goes down. Contractors confirm the sheathing meets a minimum 15/32-inch APA rating and that the deck sits flat within a 1/4-inch tolerance across any 10-foot span, per standard IRC sheathing and deflection guidance.
A deck with soft spots near a chimney base needs new plywood before crews move forward. Patching over rot with underlayment alone voids most manufacturer warranties outright.
Step 2: Install the Underlayment
Underlayment goes down next, starting at the eaves and working upward in horizontal rows with a minimum 4-inch head lap and 6-inch side lap. Installers use synthetic sheets, self-adhered membranes, or traditional asphalt-saturated felt, depending on climate and the tile manufacturer’s specification.
Two-ply “hot mop” systems call for a base sheet mechanically fastened on a 12-inch grid, then a cap sheet mopped over it at roughly 25 pounds of asphalt per 100 square feet. Installers in cold and snow regions add an ice-and-water shield extending at least 24 inches past the interior wall line, which blocks ice-dam backup during freeze-thaw cycles.
Step 3: Install Drip Edge and Flashing
Drip edge metal gets fastened at the eaves over the sheathing or underlayment, spaced 6 inches on center, with every joint lapped a minimum of 2 inches. Valley flashing follows similar logic: preformed metal at least 16 inches wide, centered in the valley, with 6-inch minimum overlaps at each joint.
Wall abutments and chimneys need separate step flashing and counterflashing, sealed with roofing cement at every nail penetration. Chimney crickets are a common source of callbacks when a seal is missed there, which is why experienced crews treat that seam as a priority check.
Step 4: Install Battens (If Required)
Battens go on next if the tile manufacturer or local building code specifies a batten system, using nominal 1-inch by 2-inch strips fastened 24 inches on center. Not every tile profile requires battens: flat and low-profile tiles often attach direct to deck instead.
Horizontal battens should not exceed 4 feet in length without a 1/2-inch weep hole every 4 feet. Trapped water behind unbroken battens causes rot within a few wet seasons in humid climates.
Step 5: Plan and Mark the Tile Layout
Layout marking comes before any tile goes down, using chalk lines to establish horizontal courses with a minimum 3-inch headlap and vertical lines that account for tile width, valley position, and hip location. Crews typically start one full tile length up from the eave, minus the desired overhang of 3/4 inch to 2 inches.
On a hip roof, installers chalk a vertical line 90 degrees from the eave, then add a parallel second line to set up staggered or straight-bond coursing. A half-inch error at this stage compounds across 40 or 50 courses, leaving a visibly crooked ridge line by the time the crew reaches the top.
Step 6: Install the Field Tiles
Field tile installation starts at the lower corner of the roof and works upward, with each course overlapping the one below by the marked headlap distance. Fastening follows whichever of the four methods above was chosen for the job: mechanical fasteners driven through pre-drilled tile holes, mortar beds set under the tile pan, or adhesive foam applied in vertical beads.
For mortar-set systems, installers apply a 10-inch minimum trowel line of mortar under each tile pan, keeping it clear of the head lug so tiles sit flat rather than tilted. A crew setting 900 tiles across a standard roof will typically place roughly 150 to 180 tiles per hour once the rhythm of the first few courses is established.
Step 7: Install Valley, Hip, and Ridge Tiles
Valley tiles get mitered to form a clean border on either side of the water diverter, while hip and ridge tiles get custom-fitted and mortared or mechanically fastened over the peak where roof planes meet. These transition points carry the highest water volume on the entire roof, which is why installers seal them with extra mortar or sealant beyond what field tiles need.
A ridge cap set without a continuous mortar bed underneath cracks within two or three freeze-thaw cycles in climates with regular winter frost.
Step 8: Flash Roof Penetrations
Every pipe, vent, skylight, and chimney gets its own flashing boot or curb flashing, sealed with roofing cement and tucked under the tile course above the penetration. Skylight curbs need a minimum nominal 2-inch by 6-inch frame standing at least 1.5 inches above the tile height, with lead or flexible flashing wrapped up both sides toward the ridge.
Plumbing stacks are smaller but no less critical. A poorly sealed stack boot is one of the more frequent repeat-leak points contractors see on annual roof checks, so it’s worth double-checking even on a straightforward run.
Step 9: Final Inspection and Clean-Up
The final step is a walkthrough checking that every tile sits flush, every fastener holds secure, and every flashing seam stays sealed, followed by debris removal from gutters and the ground below. Contractors typically photograph the completed roof from at least four angles for warranty documentation before closing out the job.
Homeowners should request this documentation directly. It becomes the reference point if a manufacturer warranty claim comes up five or ten years later.
Is Tile Roofing Code-Compliant for High-Wind Areas?
Yes. Tile roofing meets code in high-wind areas when it’s installed under design criteria from ASCE 7-22 and matching wind-uplift testing standards such as ICC-SSTD-11 or TAS 101 (Testing Application Standard). Under ASCE 7-22, Florida’s most exposed coastal zones, Monroe County and the Florida Keys, carry design wind speeds up to roughly 180 mph. Miami-Dade (175 mph) and Broward (170 mph) aren’t far behind. Contractors in these zones use enhanced fastening specifications beyond the baseline mechanical system.
The 7th Edition Florida High Wind Concrete and Clay Tile Installation Manual, published jointly by the Florida Roofing, Sheet Metal, and Air Conditioning Contractors Association (FRSA) and the Tile Roofing Industry Alliance (TRI), sets the fastening benchmarks contractors across that market build to. It took effect alongside the 8th Edition (2023) Florida Building Code and applies statewide outside Miami-Dade and Broward, which use their own High-Velocity Hurricane Zone standards. Inspectors in these zones check fastener spacing, adhesive coverage, and flashing lap distances against those published tables before signing off on final permits.
Can You Install Roof Tiles Yourself?
No, installing roof tiles yourself is not recommended for most homeowners, because the work requires structural load calculations, code-specific fastening patterns, and fall-protection equipment that licensed contractors carry as standard practice. DIY installation risks voiding the tile manufacturer’s warranty, which typically requires proof of professional installation before coverage applies.
One miscalculated wind-uplift fastening pattern can cause tile loss in a storm that a properly installed roof would survive intact. Homeowners with carpentry experience sometimes handle minor tile replacement after storm damage, but full installation on an occupied home carries liability and insurance exposure that outweigh the labor savings for nearly everyone attempting it.
How Much Does It Cost to Install Roof Tiles?
Figures below reflect general U.S. market ranges; get local quotes before budgeting, since material and labor costs shift year to year.
Tile roof installation costs roughly $12 to $25 per square foot ($130 to $270 per square meter) in the United States, with concrete tile running toward the lower end and premium or hand-crafted clay tile running toward the upper end. A 2,000-square-foot roof typically lands between $24,000 and $50,000 installed, a figure that includes tear-off, deck repair, underlayment, and flashing.
| Cost Factor | Typical Range (per sq ft) | Typical Range (per sq m) | Notes |
| Concrete tile, standard profile | $12 – $18 | $130 – $195 | Lower end of the material range |
| Clay tile, premium or hand-crafted | $18 – $25 | $195 – $270 | Higher material and freight cost |
| Labor (tear-off and installation) | $6 – $12 | $65 – $130 | Roughly 40–50% of total project cost |
| Deck repair (if needed) | $2 – $5 | $22 – $54 | Applies only where rot or sag is found |
| High-wind fastening upgrade | +10% – 20% of base price | +10% – 20% of base price | Coastal and hurricane-zone markets |
Labor typically runs 40% to 50% of the total. Tile roofs take three to four times longer to install than asphalt shingle roofs, and that gap drives the labor share higher than most homeowners expect going in. High-wind coastal markets add 10% to 20% to base pricing to cover the enhanced fastening systems and adhesive-set upgrades required for code compliance.
Do You Need a Permit to Install Roof Tiles?
Yes, most U.S. jurisdictions require a building permit for tile roof installation, since the work involves structural load changes and must pass inspection against local building code. Permit requirements trigger an inspection at the dry-in stage, right after underlayment and flashing go on, and a second inspection at final completion.
Some counties require a separate structural engineering letter confirming the roof framing can support tile weight before issuing the permit, particularly on homes originally built for lighter asphalt shingle roofing. Skipping this step creates problems at resale, when a title search or home inspection turns up unpermitted structural work.
How Do You Maintain a Tile Roof After Installation?
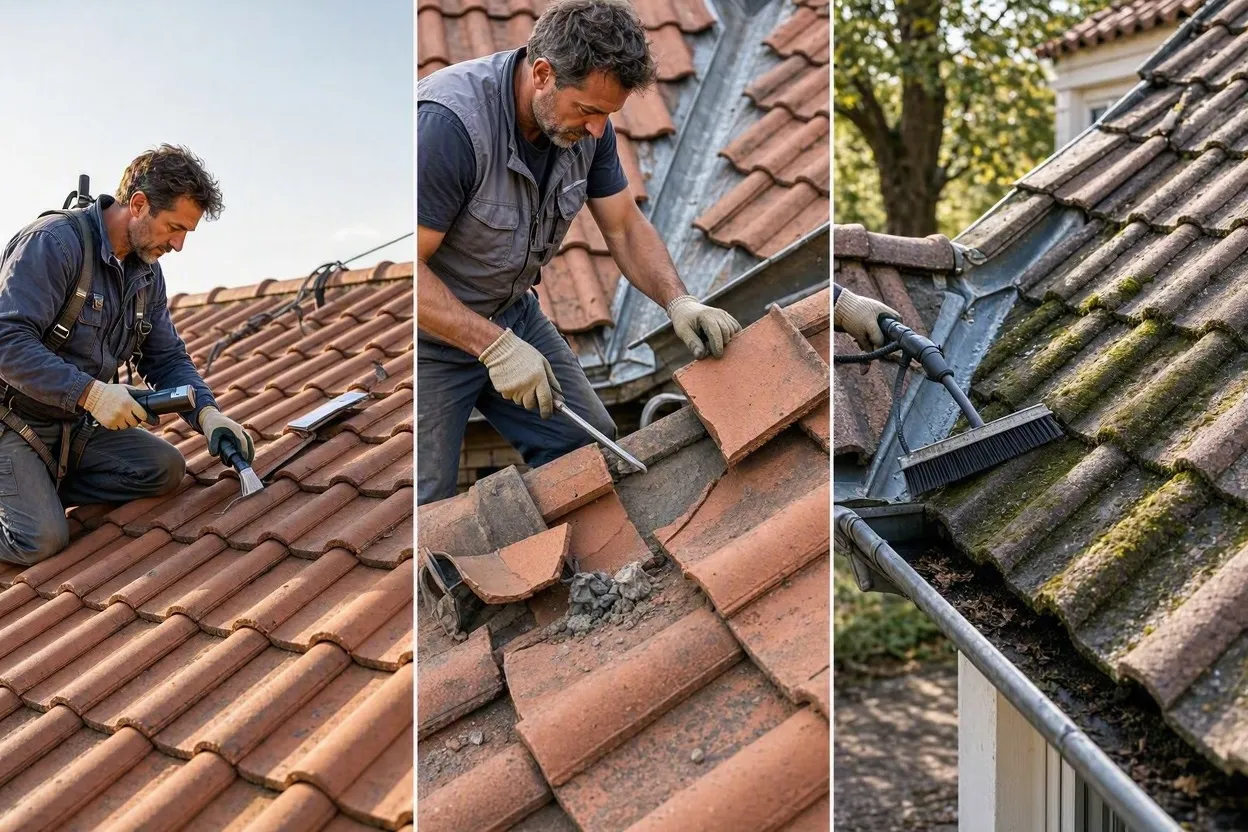
Tile roof maintenance requires an annual inspection, prompt replacement of cracked or slipped tiles, and periodic cleaning to remove moss, algae, and debris buildup in valleys. Properly maintained tile roofs commonly last 40 to 100 years depending on material and climate (clay toward the higher end of that range, concrete somewhat lower). That’s what makes routine upkeep far cheaper than premature replacement over the life of the roof.
Walking on a tile roof incorrectly cracks tiles even when the underlying installation is sound. Foot placement directly over the headlap, rather than the center of each tile, spreads weight without breaking the material underneath. Homeowners along the humid Gulf Coast should plan on algae treatment every 2 to 3 years, since dark streaking left untreated etches into porous concrete tile over time.
Conclusion
Tile roofing rewards precision at every stage, from a level deck to a sealed ridge cap. A contractor who follows ASCE 7-22 wind-load criteria, laps underlayment correctly, and documents the finished job with photographs delivers a roof built to outlast two or three asphalt shingle replacements on the same house. The nine-step sequence covered in this guide, deck inspection through final clean-up, is the same sequence FRSA, TRI, and DOE-referenced installation manuals specify for licensed crews working under current U.S. building code.
FAQs

Rachel Park
Rachel Park leads sustainability, roofing, and building materials content at Constructionspedia, drawing on over 10 years of commercial and residential construction experience. She holds an M.S. in Sustainable Building Systems from UC Berkeley and is a LEED AP BD+C, specializing in roofing systems, insulation, waterproofing, and energy-efficient materials. Her research-backed guides help homeowners and industry professionals make informed decisions about construction and green building.
Related Posts