Mortar vs Concrete: Key Differences, Strength, and When to Use Each
Concrete carries structural loads. Mortar bonds masonry units together. That’s the mortar vs concrete question in one sentence, and almost every construction mistake involving these two materials comes down to ignoring it. Swap them on a job site and you’ll end up with a cracked patio, a crumbling wall, or a stack of wasted bags.
Both materials start with Portland cement, a fine gray binding powder made from heated limestone and clay, first patented by English bricklayer Joseph Aspdin in 1824. From there their recipes diverge, and so does everything about how they perform.
What Is Concrete?
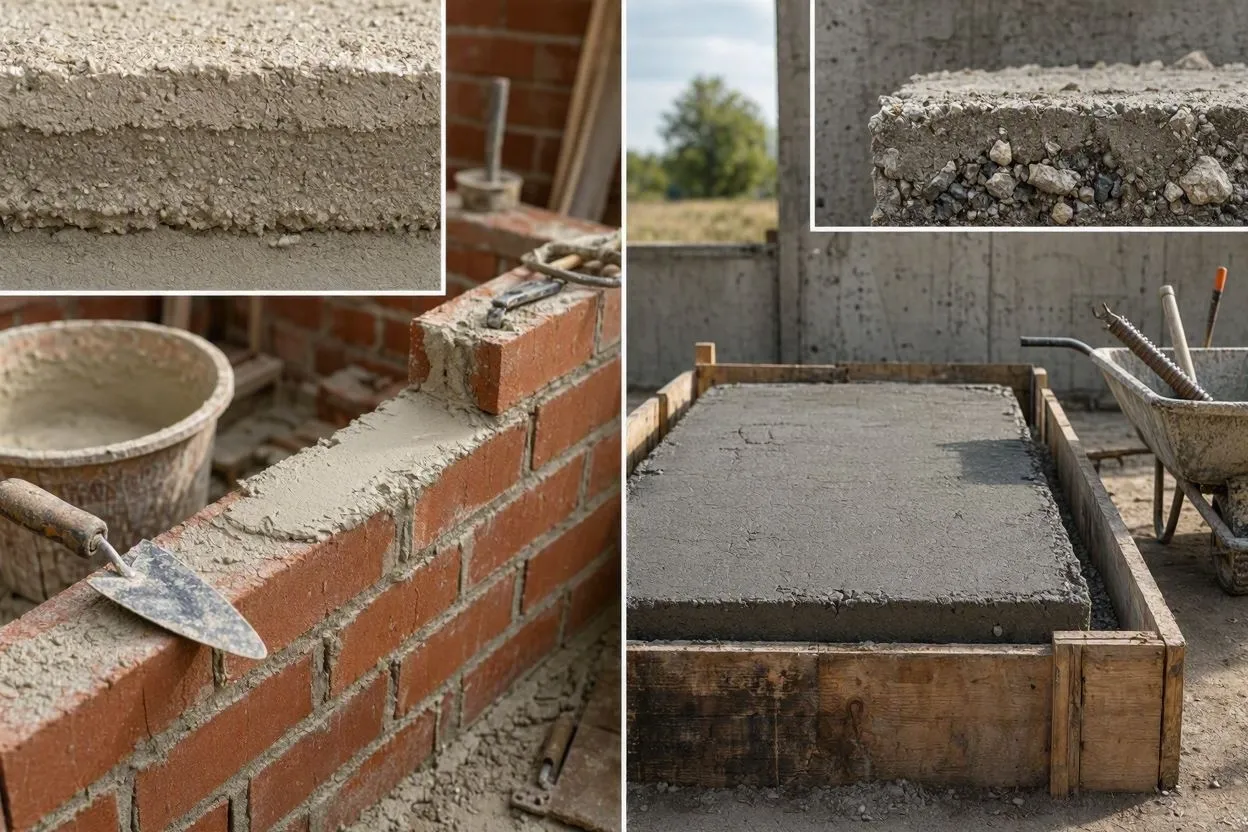
Concrete is a structural material made from Portland cement, sand, water, and coarse aggregate like gravel or crushed stone. Cement and water form a paste that binds it all into one rigid mass as it cures. That coarse aggregate is the giveaway: no gravel means you’re actually looking at mortar or grout.
Most residential concrete cures somewhere between 2,500 and 5,000 PSI (17 to 34 MPa), depending on what it’s for. A garage slab might only need 3,000 PSI, while a driveway that takes vehicle weight and winter freeze-thaw usually wants 4,000 PSI or higher. Check your local code or an engineer’s spec for the exact number on your job.
You get roughly 60 to 90 minutes to work fresh concrete before it starts setting, less in hot weather, so forms, rebar, and control joints need to be ready before the truck shows up. Concrete goes into foundations, driveways, sidewalks, patios, slabs, curbs, and footings: anywhere that holds weight or sits in the ground for years.
What Is Mortar?
Mortar is a bonding material made from Portland cement (or masonry cement), fine sand, water, and usually lime. Its job is to glue brick, block, and stone into one structure. There’s no coarse aggregate in it, on purpose: a piece of gravel in a 3/8-inch (10 mm) joint would break the bond and leave a weak spot.
Mortar is also meant to be the weaker partner. If it’s stronger than the brick it’s holding, the brick cracks first when the wall shifts, and bricks cost a lot more to replace than a joint does. Type N (one of five ASTM-defined grades, covered below), the common general-purpose blend, targets around 750 PSI (5.2 MPa), well under a brick’s 3,000+ PSI. The mortar is supposed to give first.
Lime makes mortar easier to work and slower to set, so masons get more time to adjust brick placement. Some historic restoration jobs skip Portland cement entirely and use straight lime mortar, since old, soft brick can crack against a modern hard-cement mix. Mortar shows up in brick walls, block foundations, retaining walls, chimneys, stone veneer, and repointing older masonry: basically anywhere units get stacked and glued together.
Mortar Types Explained: M, S, N, O, and K
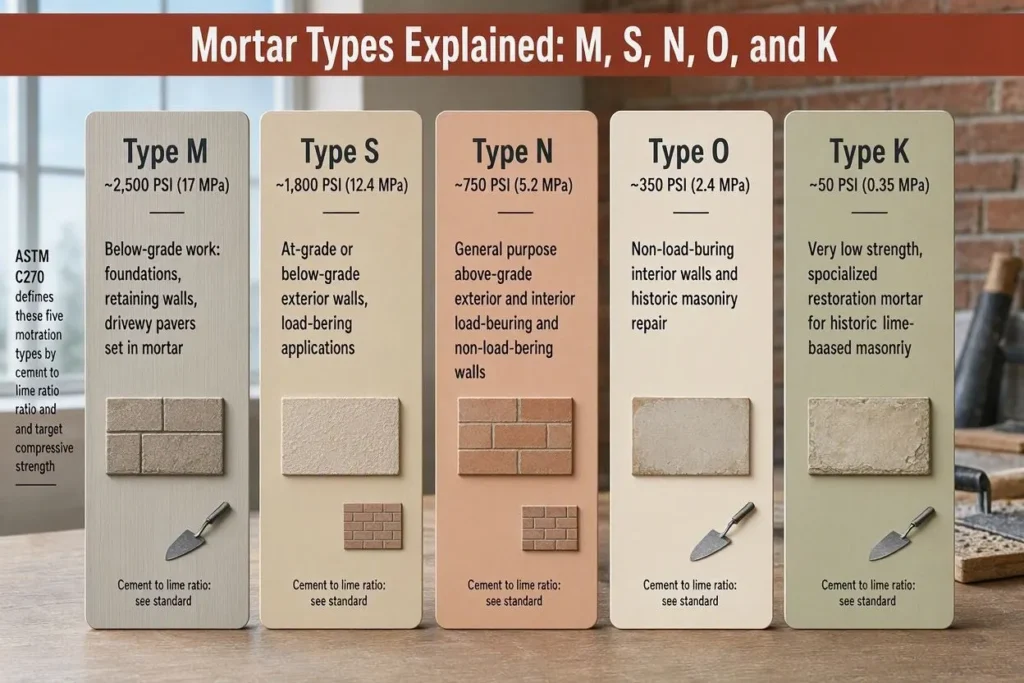
Mortar isn’t a single product. ASTM (American Society for Testing and Materials) standard C270 defines five mortar types, each with its own cement-to-lime ratio and target compressive strength:
| Type | Target Compressive Strength (ASTM C270) | Best Application |
| Type M | ~2,500 PSI (17 MPa) | Below-grade work: foundations, retaining walls, driveway pavers set in mortar |
| Type S | ~1,800 PSI (12.4 MPa) | At-grade or below-grade exterior walls, load-bearing masonry, high lateral loads |
| Type N | ~750 PSI (5.2 MPa) | General-purpose above-grade walls, chimneys above the roofline, soft stone veneer |
| Type O | ~350 PSI (2.4 MPa) | Interior non-load-bearing walls, tuckpointing on older, softer brick |
| Type K | ~75 PSI (0.5 MPa) | Historic restoration only, matching original lime mortar |
The strength order runs M, S, N, O, K from strongest to weakest, with M and S built for heavy loads and O and K kept soft on purpose. Type S handles most modern residential exterior masonry. If a project spec doesn’t name a type, Type N is usually the safe default for above-grade work. Always confirm the required type against your local building code or engineer’s spec before a below-grade or load-bearing job. That gap between Type N and Type S matters in practice: a below-grade retaining wall built with Type N instead of Type S risks failure under soil pressure, since Type N only targets about 40% of Type S’s strength.
Mortar vs Concrete: Key Differences at a Glance
| Feature | Concrete | Mortar |
| Main ingredients | Cement, sand, water, coarse aggregate | Cement, fine sand, water, lime |
| Compressive strength | 2,500 to 5,000+ PSI (17 to 34+ MPa) | 75 to 2,500 PSI (0.5 to 17 MPa), by type |
| Contains coarse aggregate | Yes | No |
| Consistency | Pourable, flows into forms | Thick, paste-like, spread with a trowel |
| Primary use | Structural loads (slabs, footings) | Bonding masonry units |
| Water-to-cement ratio | Lower, for strength | Higher, for workability |
| Typical cure time | 28 days to full strength | 28 days to full strength |
| Repair interval | Commonly cited around 50 to 100 years for a poured slab | Commonly cited around 25 to 50 years before repointing |
Concrete’s strength advantage comes down to two things mortar doesn’t have: coarse aggregate and a lower water-to-cement ratio. A homeowner repointing a 1920s brick chimney needs a completely different mortar than a mason building a below-grade retaining wall, even though both jobs fall under “mortar work” on paper. High-strength commercial concrete mixes, the kind used in structural columns, can run well past 8,000 PSI (55 MPa) with the right mix design.
When to Use Concrete
Use concrete for anything that needs to bear weight, resist soil pressure, or hold its shape without help from surrounding materials. A poured slab under a 200-square-foot shed, for instance, has to spread the shed’s full weight plus snow load evenly across the ground, and mortar’s lower strength just can’t do that.
Common concrete applications:
- Garage slabs and basement floors
- Driveways and sidewalks
- Home foundations and footings
- Deck and fence post footings
- Patio and pool deck pours
- Curbs and exterior stairs
- Structural elements reinforced with rebar (steel reinforcing bar)
Long pours need expansion joints cut at set intervals, commonly every 8 to 12 feet (2.4 to 3.7 meters) for a standard slab, though your specific spec may call for something different. Skip that step and temperature swings will crack the slab wherever they please, not where you planned.
When to Use Mortar
Use mortar any time individual masonry units need to become one structure. Stack brick, block, or stone with no mortar between courses and you don’t have a wall. You have a pile of loose material balanced on itself.
Common mortar applications:
- Brick walls, brick veneer, and brick chimneys
- Stone veneer on exterior walls and fireplaces
- Concrete block foundations and retaining walls
- Repointing aging mortar joints on older homes
- Setting beds for flagstone, pavers, and natural stone treads
Mortar vs Concrete: Cost Comparison
Concrete generally costs less per pound than mortar, though exact pricing depends heavily on region, bag size, and current material costs, so treat any dollar figure here as a rough planning number rather than a quote. As a rule of thumb, mortar mix tends to run noticeably more per bag than general-purpose concrete mix, partly because it covers less finished volume once you account for how thin it’s spread in a joint versus poured in mass.
For a small project, say a 4-foot by 4-foot (1.2 by 1.2 meter) paver patio base, expect to use roughly 25 to 30 bags of concrete mix at 80 pounds (36 kg) each. A 100-square-foot brick veneer wall, by comparison, typically needs 7 to 9 bags of mortar mix. Ready-mix concrete delivered by truck is usually cheaper per unit than bagged mix, but it only pencils out at larger volumes, generally 3 cubic yards or more. Get a current quote from a local supplier before budgeting a project. Bag counts here assume standard 80-pound bags; adjust proportionally for other bag sizes.
Mixing Mortar vs. Mixing Concrete
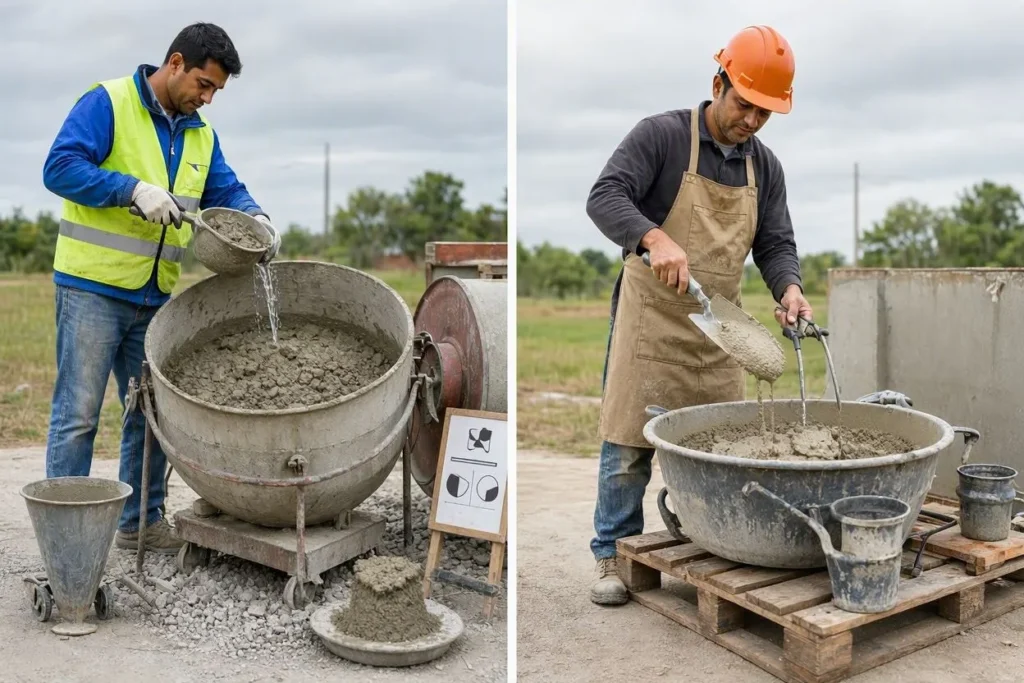
The biggest difference in mixing the two comes down to water content. Concrete needs a lower water-to-cement ratio to maximize strength. Mortar needs more water to stay workable on a trowel without sliding off a vertical joint.
Get the ratio wrong on either one and the batch is compromised before it leaves the mixer. Too much water in concrete weakens the cure, and too little water in mortar makes it stiff and hard to spread evenly, which leaves voids in the joint that let moisture in.
Mixing time differs too. Concrete needs more aggressive blending to fully coat the stone aggregate and break up dry pockets, typically 3 to 5 minutes in a drum mixer. Mortar needs steadier, gentler mixing so the lime and cement develop the smooth, sticky consistency a mason can tool cleanly, usually 4 to 6 minutes at a slower speed.
Climate Matters: Freeze-Thaw Cycles and Regional Mix Choices
Regions with freeze-thaw cycles need air-entrained concrete and higher-strength mortar types to keep things from cracking. Water expands as it freezes (roughly 9% in volume), and without tiny air bubbles built into the mix to absorb that expansion, the ice pushes outward and cracks the material around it.
Air-entrained concrete, standard for most northern U.S. states, includes microscopic air bubbles that give expanding ice somewhere to go. Minnesota, Michigan, and Maine routinely specify air-entrained mixes for exterior concrete work, while warmer states like Florida or Arizona often skip it since freeze-thaw cycling barely factors in down there.
Mortar handles this differently. Masonry cement and Portland-lime blends already carry higher air content than plain Portland cement, which is one reason mortar rarely uses straight Portland cement without lime or masonry cement mixed in. A mason working in a cold-climate city will typically default to Type S mortar for exterior brick work specifically because its higher strength and air content resist winter cycling better than Type N does.
Common Mistakes to Avoid
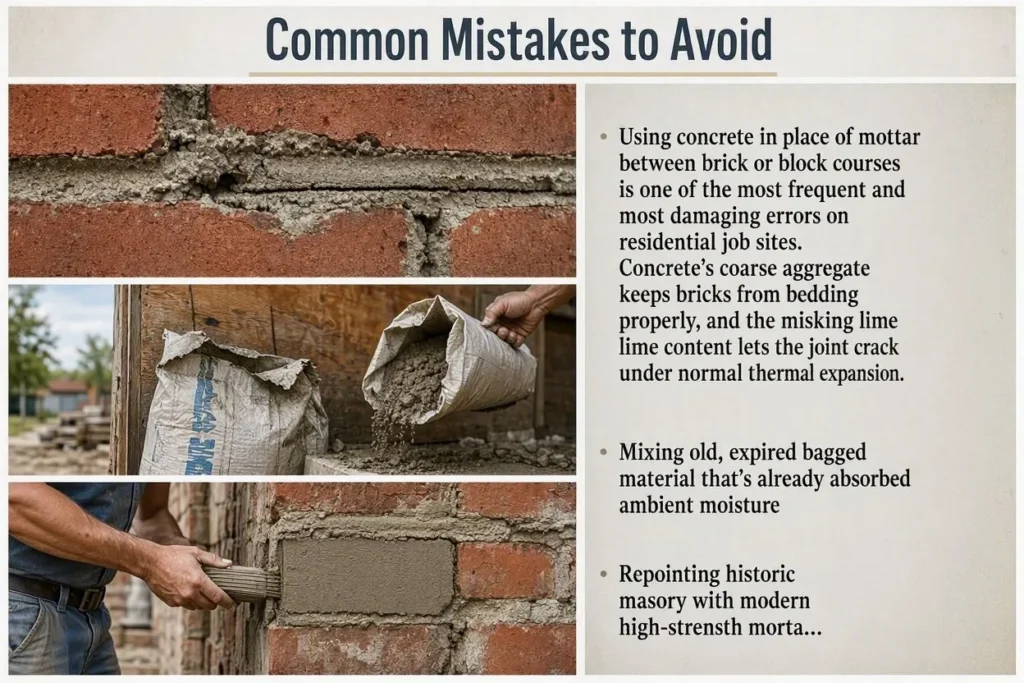
Using concrete in place of mortar between brick or block courses is one of the most frequent and most damaging errors on residential job sites. Concrete’s coarse aggregate keeps bricks from bedding properly, and the missing lime content lets the joint crack under normal thermal expansion.
Other frequent mistakes:
- Mixing old, expired bagged material that’s already absorbed ambient moisture
- Repointing historic masonry with modern high-strength mortar, which can crack the original soft brick
- Skipping expansion joints on long concrete pours
- Adding extra water to mortar mid-job to keep it workable, which weakens the final bond
- Ignoring rebar placement on structural concrete pours that will bear significant load
Efflorescence, the white, powdery mineral deposit that forms when water carries salts to the surface of cured concrete or mortar, looks cosmetic but often signals a moisture problem underneath. Left alone, it can point to drainage or sealing failures that eventually hit structural integrity.
Mortar vs Grout vs Concrete: Quick Disambiguation
Grout differs from both: it fills gaps and voids instead of bonding structural units or bearing loads. Sanded grout works for tile joints wider than 1/8 inch (3.2 mm), unsanded grout suits narrower joints and polished stone, and non-shrink grout fills structural voids like anchor bolt holes and column bases.
All three share Portland cement as a base ingredient, but the proportions and purpose diverge sharply. Concrete bears weight. Mortar bonds masonry. Grout fills the spaces where neither of the other two belongs, like the 1/16-inch (1.6 mm) gap between ceramic floor tiles.
Conclusion
Concrete and mortar share one ingredient, Portland cement, and almost nothing else in function. Concrete pours and cures rigid to carry structural weight. Mortar spreads and stays flexible enough to sacrifice itself before the masonry cracks. Getting the mortar vs concrete choice right comes down to one question: is this job bearing load, or bonding masonry? Match the material to the job: aggregate and PSI for anything bearing load, lime and workability for anything holding brick and block together.
FAQs

Related Posts